Ruby development environment setup on Mac OSX El Capitan
THE FIRST STEPS, EXECUTE IN ORDER!!
(copy and pasting commands is OK)
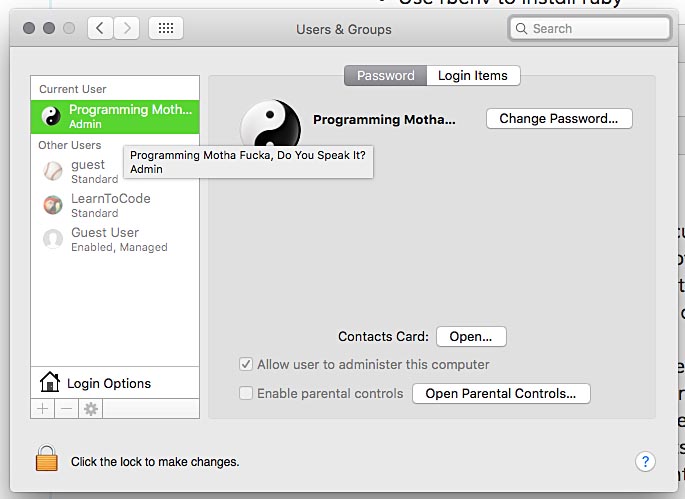
- Ensure you are working from an admin level system profile
- Download and Install atom https://atom.io/
- Welcome to your new home, the terminal, update
~/.bash_profile so you can see things properly in your terminal (color, directories and hidden files)
echo 'alias ls="ls -FGaw"' >> ~/.bash_profile
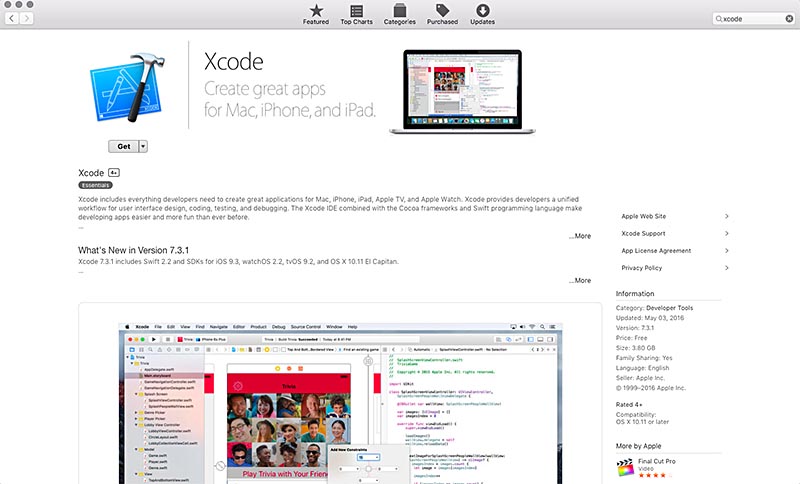
- Install Xcode Command Line Tools
xcode-select --install
  xcode-select -p
  # looking for
  # /Applications/Xcode.app/Contents/Developer
- Install HomeBrew, aka Brew, http://brew.sh/
  /usr/bin/ruby -e "$(curl -fsSL https://raw.githubusercontent.com/Homebrew/install/master/install)"
  brew -v
  brew install git
  git -v
- Install rbenv, https://github.com/rbenv/rbenv
  brew install rbenv
  rbenv init
  rbenv install -l
  rbenv --version
- Use rbenv to install ruby
  rbenv install 2.3
  ruby -v
  mkdir ~/.rbenv
  echo '2.3' >> ~/.rbenv/version
  gem install bundler
  gem list bundler
BASIC UNIX
pwd print the location of the current working directorycd ../ change directory and move up one levelcd ~/ cd directory from current to user’s home directorymkdir ~/unicorn_hunting create a directory in the home directory called ‘unicorn hunting’ls list the contents of the current directoryls -al list all the contents of current directory in a listtouch unicorn.rb create file called ‘unicorn’ with the ‘.rb’ ruby file extensionruby unicorn.rb run the contents of the unicorn.rb file as rubycmd k clear contents of current terminal window
Useful Mac OSX details
- Enable finder to show all hidden files
  defaults write com.apple.Finder AppleShowAllFiles YES
  killall Finder
- Install and use sizeup (paid) for window maximizing and docking, http://www.irradiatedsoftware.com/sizeup/


